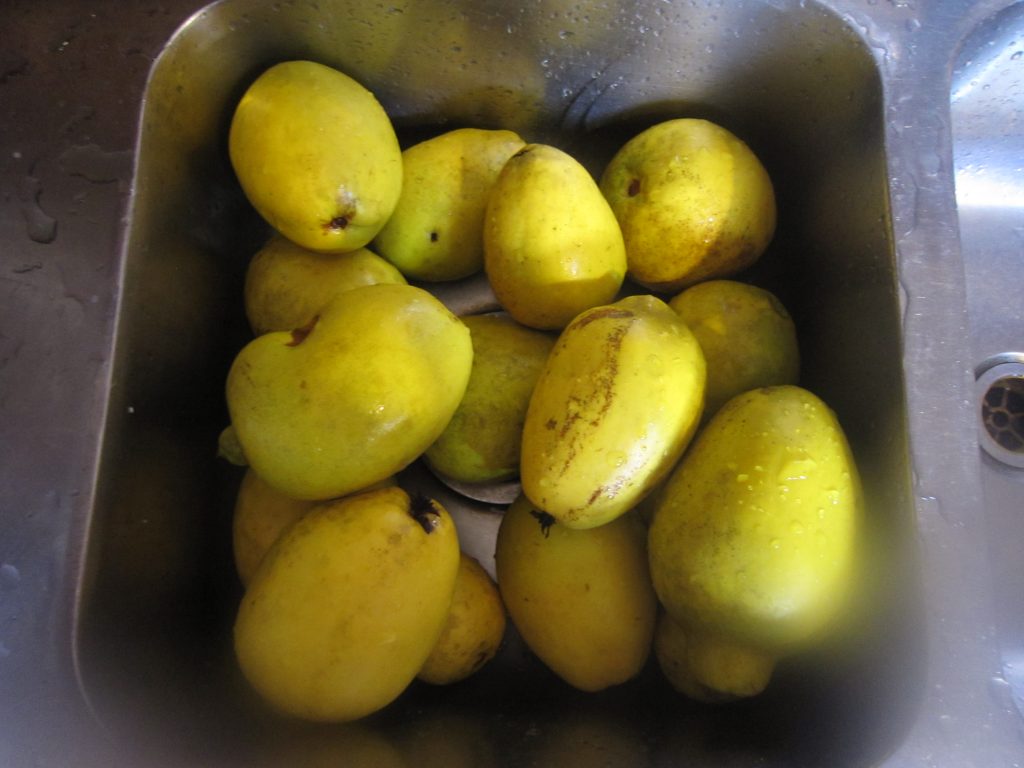
My latest fad is cream cheese and quince jelly on toasted gluten free bread. The cream cheese and the quince jelly are perfect foils, subtley enhancing each other. I confess I’m a little addicted. Have you ever got up close and personal with a quince. The aroma of the ripe fruit is divine, evoking tropical flowers. The quince is actually a pear, though astringent until cooked. It’s under-rated and under-used in my opinion. I have two different types of quince trees growing here. The Japanese and the European. Both are suitable for jelly making. The Japanese quince makes a darker coloured jelly which I have used this time. .
Japanese Quince.
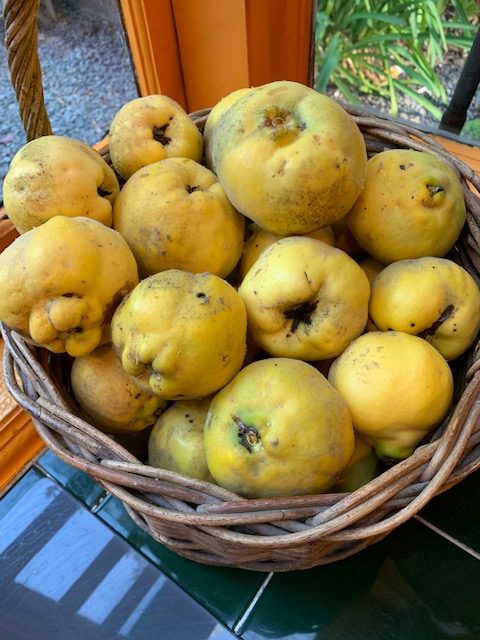
European quince
Ingredients;
Quinces and sugar.
Method;
Wash and chop your quinces into smallish chunks. Discard any bad or bruised portions. Quince bruise very easily. I find it’s better to pick the quince off the tree rather than collect fallen fruit as these are often too damaged internally to be of much use.
Add the whole chopped quince (including the seeds, cores etc) to a large pan and just cover the fruit with water. Bring to the boil and continue cooking until the fruit is tender. I cooked my fruit for about half an hour and tried not to stir too much, keeping the fruit intact.
Once the fruit is tender, line a sieve or colander with a piece of cotton muslin or cotton cloth and strain the liquid into a basin or pan. Years ago I made myself a jelly bag, which I find so much easier to use for larger quantities and extracts more juice from the fruit.
I fill up the bag with the fruit, then tie it around a shelf which is conveniently placed above the bench. I will let this hang overnight allowing all the juice to drip into the pan. The idea is not to squeeze the fruit as this will create a cloudy jelly. Using the seeds and the cores which contain pectin, will help the jelly to set more reliably.

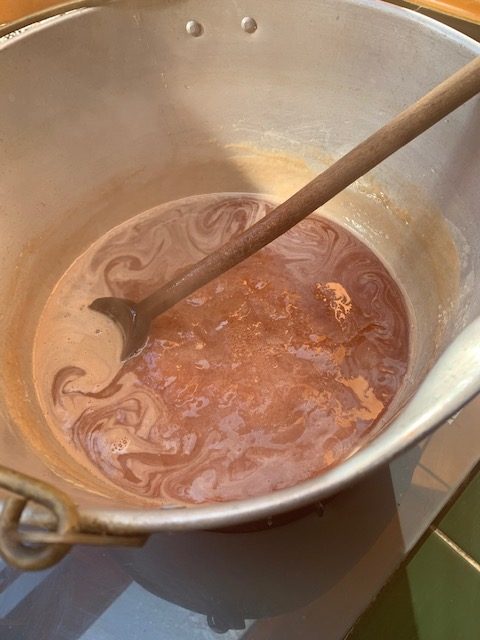
Next morning measure the juice into a pan and add 3/4 cup of sugar to every cup of juice. It’s tempting to skimp on the sugar as it seems a lot but this will create a jelly that is too runny. Bring to the boil, stirring to dissolve the sugar and boil until the liquid jells.
The jelly bubbling away, gets darker as the sugar cooks. It took about an hour before my jelly was thick enough, but it can take longer.
To test if your jelly is cooked, place a small spoonful onto a plate and let it cool. Put your finger onto it and when it sticks to your finger and gathers together you know that your jelly is ready to put into jars. I prefer small jars for jam and jelly as I don’t eat a lot at a time. Thoroughly wash your jars and lids and have them sitting in a sink of clean hot water. Place newspaper or a wooden board beside the pan to catch any drips of jelly. When your jelly is ready take one warm jar at a time and dry it thoroughly with a clean tea towel. Place the jar beside the pan on the wooden board and using a ladle, fill the jar with hot jelly. The jars need to be warm when you fill them otherwise they may crack.
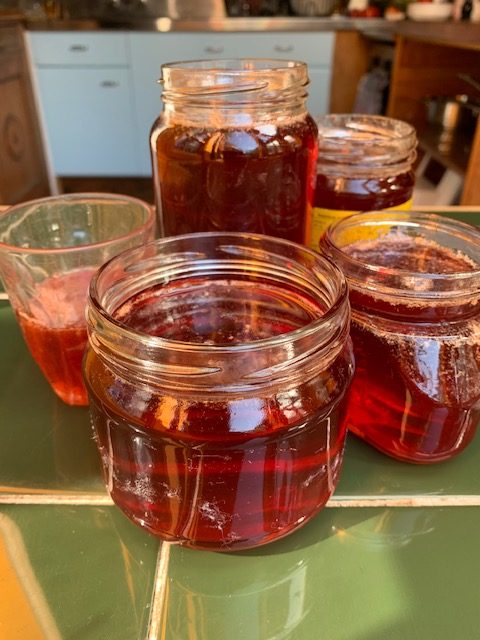
Lid when cooled a little.
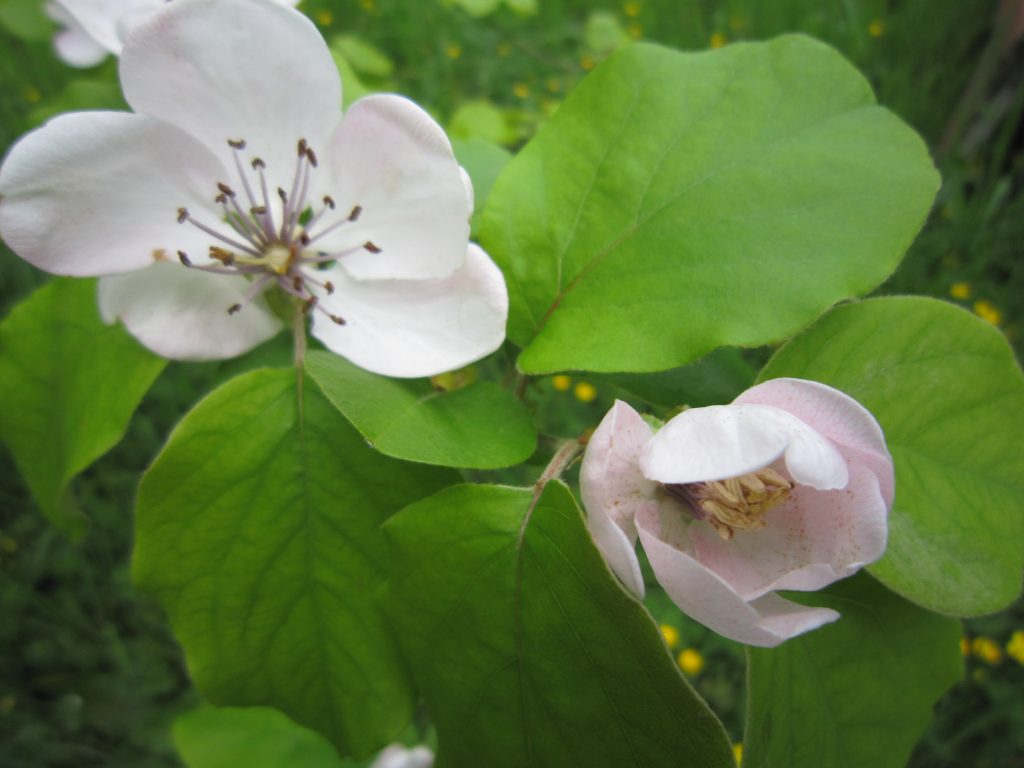
the delicate blossoms of the European quince.