KOMBUCHA. This word sounds like it needs an exclamation mark and a very loud HOLA at the end. Well believe me that’s how I feel today after finally making/saving my kombucha tea. My poor scoby has been sitting neglected in the jar for six weeks because I did not get around to doing anything with it. Clearly I was just plain lucky or it is a very forgiving process, because, after six weeks it went through three cycles of making new scoby’s and then the old ones sort of shriveled up at the bottom of the jar. So lets go back to the beginning. Like I said about six weeks ago I became the happy recipient of a scoby. I took it home and made up a batch of kombucha tea, with all the best intentions in the world.
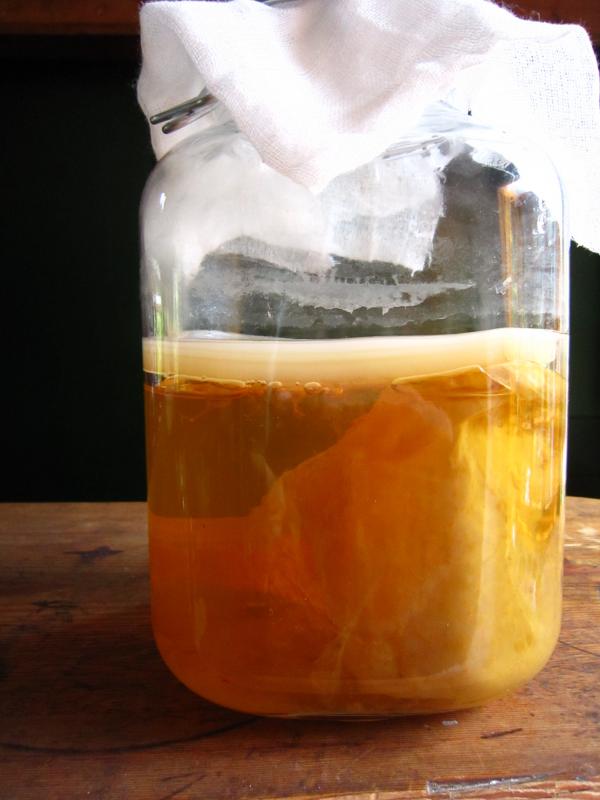
Here is my neglected scoby/kombucha. The scoby is the white layer on top. It’s called the mother, the culture or the. mushroom. A living organism, it’s a Symbiotic Colony Of Bacteria and Yeast. The scoby converts the original sugared tea into kombucha, which has many health benefits. Like all fermented foods it is a rich source of probiotics, those helpful bacteria that are the basis of healthy digestive function, absorbtion of nutrients and elimination of waste.
So here is how my fabulous daughter Cherry taught me how to make my first kombucha brew when she gave me my first scoby. It’s all about sharing the love 🙂 We went off to Briscoes and found a suitable sized glass jar to make my first brew in (pictured above)
WHAT YOU NEED; A glass container that can comfortably hold about 8 cups of liquid, 1 scoby plus a cup measure of it’s previous kombucha tea, 4 teabags (black or green), 1/3- 1/2 cup raw sugar and about 7 cups of boiling water, some cloth to secure over top of your jar.
THINGS TO KNOW; The container you make your kombucha in must be thoroughly cleaned with hot water. Don’t use any chemical cleaners as this can interfere with the bacterial action of the scoby. Make sure you wash your hands well during all parts of the process and make sure not to use metal utensils or containers.
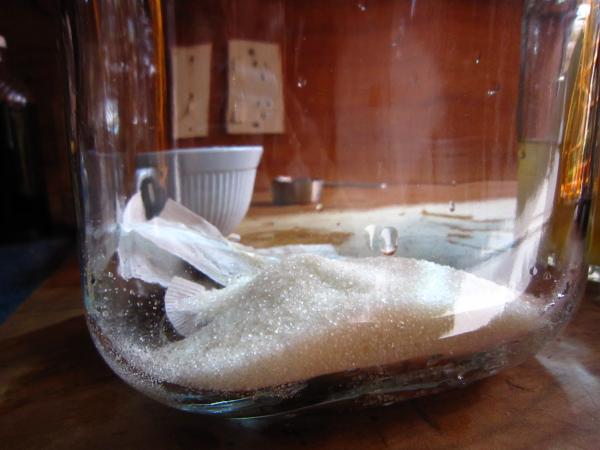
HOW I MADE MY FIRST SCOBY; Into the clean jar I popped four green tea bags, 1/3 cup raw sugar and about 7 cups of off the boil water (didn’t want my new jar to crack) I dissolved the sugar then let the tea bags steep until the mix was just warm. Once the tea had cooled I removed the tea bags and added my newly aquired scoby and it’s cup of kombucha.
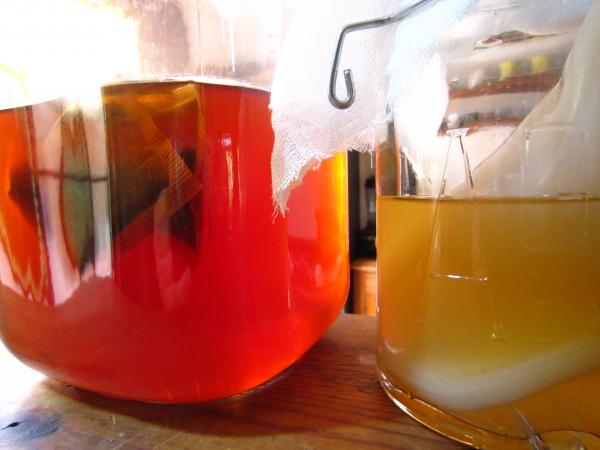
Then covered the opening with a clean cloth (I used muslin). This allows the kombucha to breathe and keeps any unwanted insects out. It’s simple enough to secure the cloth with a rubber band or a piece of string.
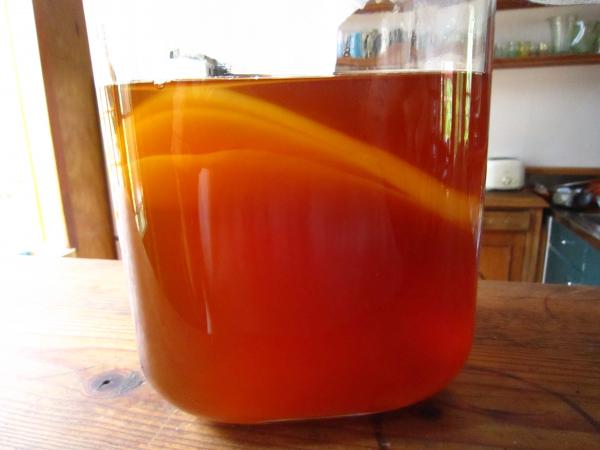
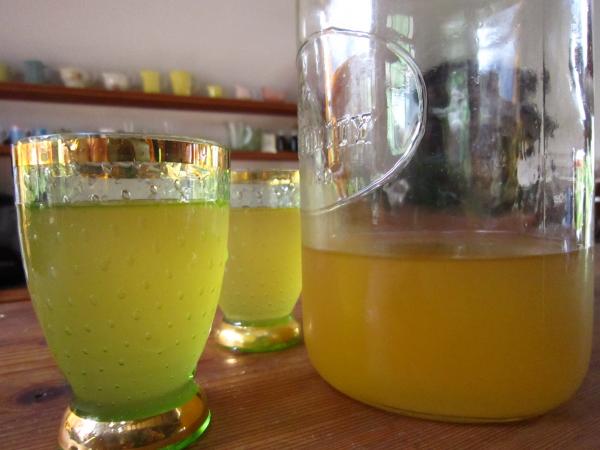
Give your brew somewhere permanent to settle that is warm without being in direct sun and also has a reasonable airflow. Now it’s a waiting game! Some peops will use the kombucha after 4 or 5 days while others (myself inadvertantly) 6 weeks It all depends on how you like your kombucha to taste. Mine tasted like a mild honeygar, quite strong but still yummy. I won’t leave it longer than 2 weeks next time. I poured my kombucha into some agee jars, sealed them and stored them in the fridge.
ADDING SOME FIZZ;
If you like yours fizzy then you need to allow your kombucha a second ferment. You can add fresh fruit juice or herbs at this point as well. Bottles with lids are what is called for now. After 4-5 days of the second ferment store your fizzy kombucha in the fridge. Enjoy!