Oh how I love garlic, and salt, and oil. I can’t imagine preparing food without them. Good organic garlic, mineral rich sun-dried sea salt and cold-pressed oil. Organic avocado oil drizzled over fresh salads straight out of the garden. Whole roasted garlic cloves nestled amongst crunchy olive-oiled potatoes and sprinkled with a good grainy salt. We roasted a chicken last night. Pushed a lemon inside the cavity, stuffed a huge handful of fresh sage leaves and whole garlic cloves under the skin, rubbed it over with olive oil and seasoned with salt and pepper. Accompanied by steamed broccoli and potatoes, garden fresh,with a flavoursome gravy made from scratch, simple and delicious. What works for me are classic combinations of fresh herbs and seasonal produce that I can grow myself. I guess you could call me a peasant, but I reckon I eat food fit for a queen! To grow some of your own food is not that difficult. Gardening is another one of those basic skills that we have handed over to the experts. Growing our food is our birth-right. I have been growing food for 25 years and I still get a huge kick out of it.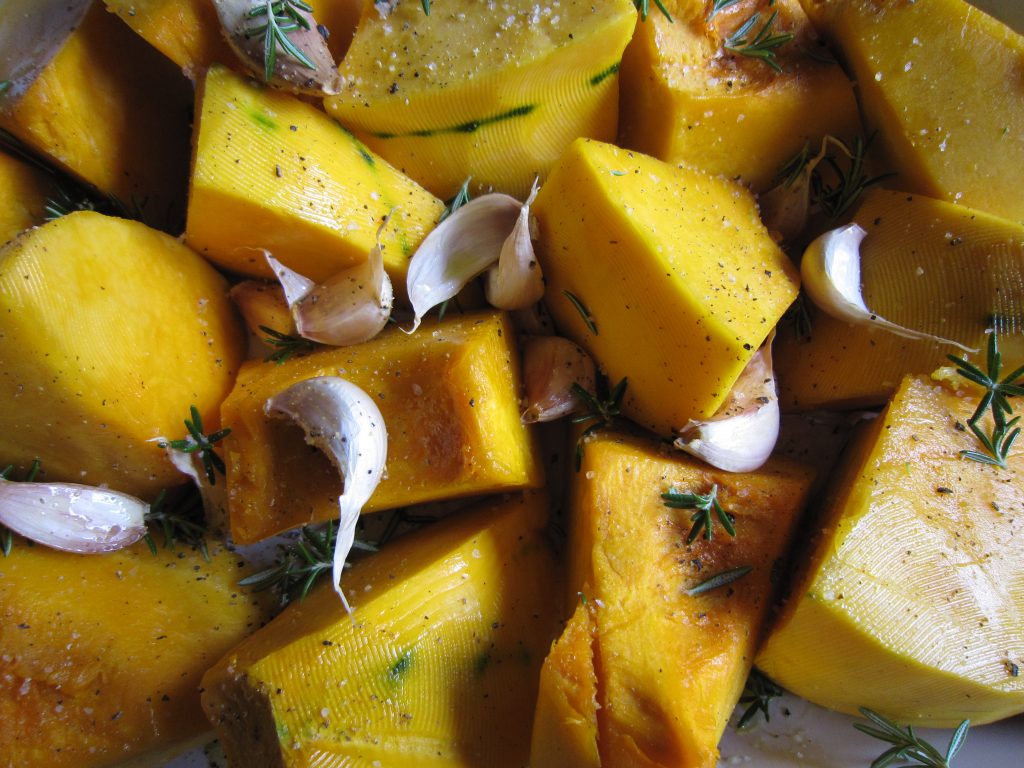
Squash/pumpkin, garlic and rosemary ready to roast. Drizzle with olive oil and sprinkle with salt and black pepper.
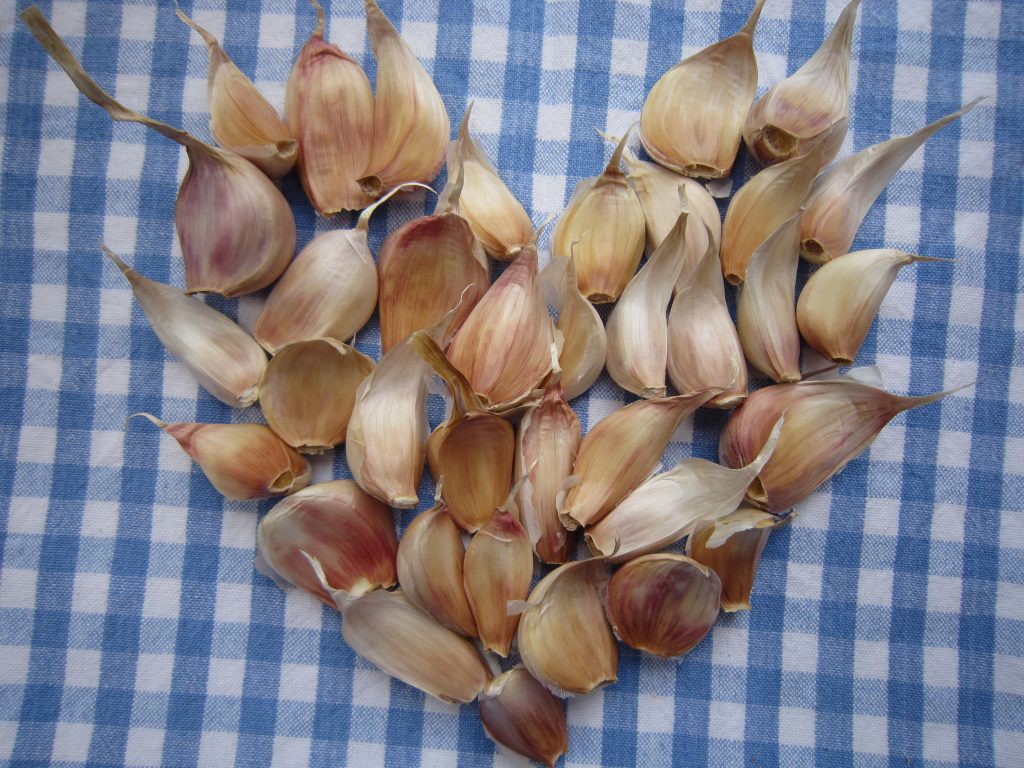
In the past I always grew enough garlic for the family, harvesting it mid-summer and plaiting it into long braids I hang from the rafters. I’ve let it slide for a few years so consequently I have had to purchase garlic for planting this season. I bought some from my neighbourhood fruit and vege shop. I made sure it was locally grown with fat and healthy-looking, individually shaped bulbs. Don’t purchase those white uniform garlics imported from China as apart from being tasteless they have been chemically treated to stop them from sprouting. If you are not sure about the standard of garlic from your fruit and vege shop, try to source some organic garlic from your local whole/health food store.
I prepared the ground for the garlic about 6 weeks ago, lightly digging in chook poo, organic sheep manure pellets, compost and a sprinkle of lime and blood and bone. This was where I had grown Summer corn, melons and squash and after the final harvest and clearing out the spent plants, I took the time to feed and mulch, ready for planting garlic. The soil here in the Western end of the Puhoi valley is pretty bad and I have been building it up for years. It’s heavy clay and poorly draining so I need to be adding lots of organic material and as often as I can. To get a good crop, compost alone is not enough, garlic emphatically needs some full-on manure. Sometimes you can get horse or cow poo from a local farm or alternatively purchase processed pellets from a garden centre. Garlic can be planted anytime during the winter but for a better crop the earlier half of winter is preferable as garlic needs a cold snap or two to get it going.
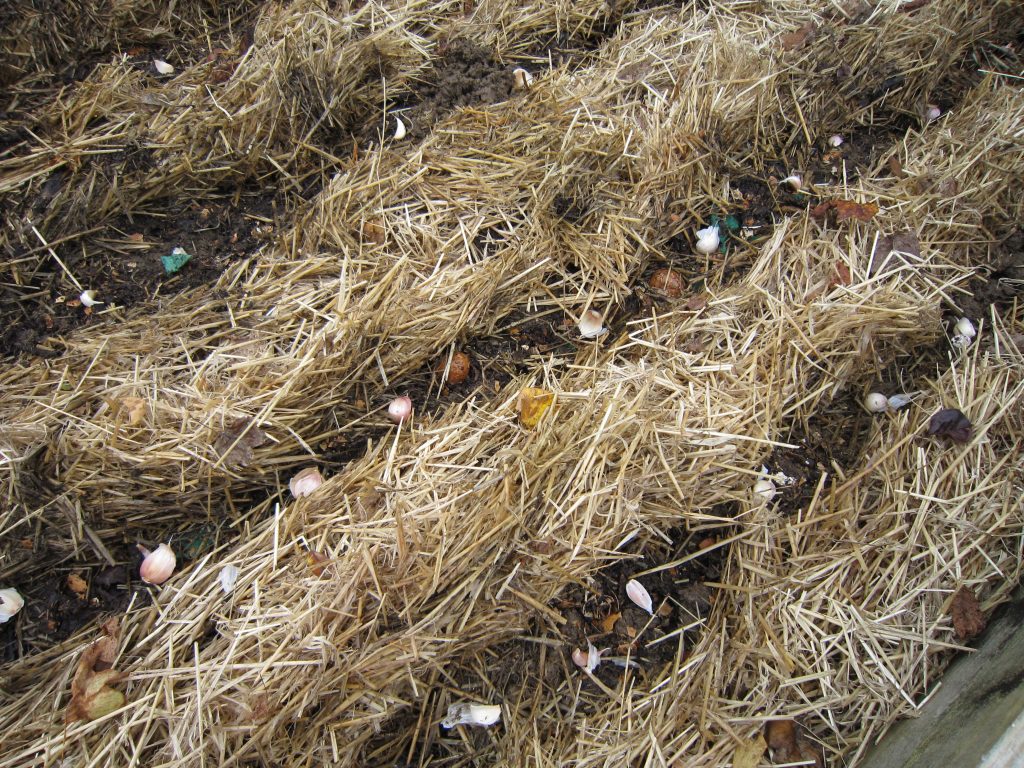
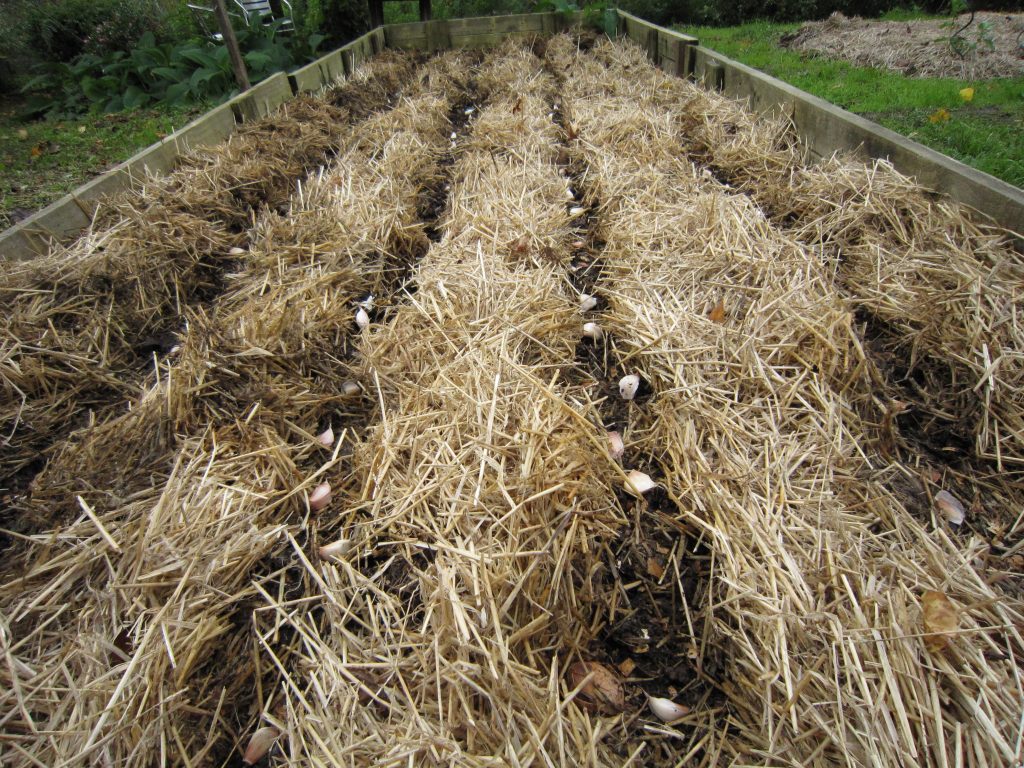
The garlic cloves laid out in the rows ready to be planted
Try to choose a sunny spot in the garden, though I must admit the bed I’m planting my garlic in will be losing the sun quite early in the afternoon during the deepest months of Winter. Getting a full days worth of sun during Spring and early Summer however is more important. Carefully break up the bulbs and plant each individual garlic clove in rows about 2-3cm’s deep and about 13-15 cm’s between the rows and each other. Make sure they are deep enough that the birds won’t pull them out, and check on them for a week or so because they can sometimes push themselves out of the ground if it rains. Plant with the pointy tip pointing upwards and the root end facing downwards. Always choose the fattest and healthiest looking cloves to plant because they will grow into the better bulbs. After planting I find mulching in this soil and climate to be advantageous. Keeping the soil moist and the roots cool during the intense heat of our summer is a must. As garlic hates competition, mulching also prevents aggressive weed growth and weeding can disturb the roots of the garlic.
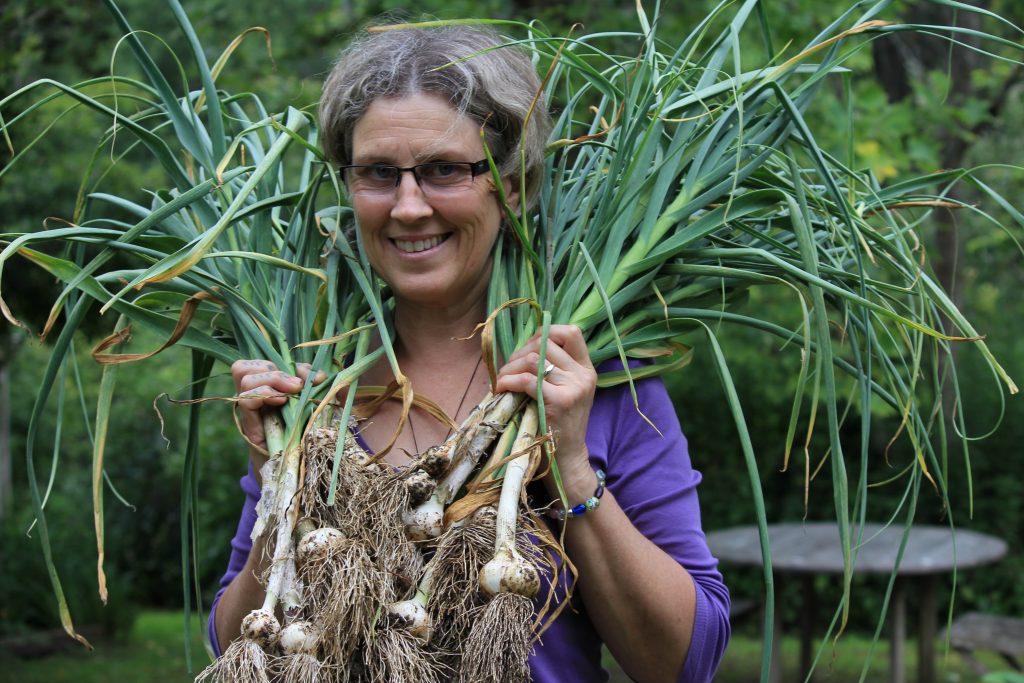
I intend to feed my growing garlic with liquid seaweed fertilizer about once every 6 weeks and I will make sure it is watered regularly from late Winter and throughout the Spring as this is when the bulbs are really developing. I find it helpful to mark on the calendar when I am scheduled to do any important tasks in the garden. The ‘traditional’ day to harvest garlic is on the longest day of the year, however be flexible and allow for when your garlic still has about 5 or 6 green leaves on the plant. If you let it completely die/dry off in the ground, it can end up getting spoilt if it happens to rain. Then it won’t store well. Carefully dig up all your glorious garlic and allow to dry in an airy place. You can braid your garlic and hang in your kitchen or storeroom. Use it and enjoy it! Don’t forget to save some of the fatter cloves/bulbs for next years crop. Again the ‘traditional’ day to plant is on the shortest day of the year. Most herbs and vegetable plants have particular growing recquirements, often nothing too complicated, but if you take the time to find these out and apply them your plants will thrive and reward you with Papatuanuku’s generosity and abundance. Think of it like this, you have a new acquaintance and you would like to become good friends, you start to get to know them, their likes and dislikes, their birthday, their favourite colors and foods. Your friendship like a garden begins to grow and flourish because you are taking just a little time and a little care.
GARLIC UPDATE 22ND MAY
Random things always happen here. Some steers got onto the property and trampled everywhere including the garlic patch. They disturbed some of the bulbs and made huge footprint craters throughout the bed. Thankfully I could rescue the dug up bulbs and replant them. I had to loosen the soil that they compacted with their great big hooves. I made a comfrey tea today that I will use to feed the bulbs with in about 3 weeks. And every 6 weeks or so after that. I’ll try to get some fresh seaweed as well to make a seaweed tea. The shoots that have sprouted are looking beautifully strong and healthy. It has been so wet here that I was afraid the bulbs would rot.
GARLIC UPDATE 20TH OCTOBER
Wow time really flies! It’s 6 months since the garlic cloves went into the ground. They are strong fat plants now. We have had an exceptionally wet late winter and spring and the garlic bed has been pretty sodden for months. I transplanted some nasturtium into the garlic bed a few weeks ago and these will provide a little bit of extra early summer cover. Our soil is clay and prone to shrink and crack during the warm months. It’s keeping the bulbs watered from now on that is quite important. If the weather stays like this I won’t need to worry too much. I will give them another seaweed tea feed tomorrow.
GARLIC UPDATE 1st January (not long after the summer solstice)
I decided it was time to harvest the garlic. It had been in the ground for over 6 months and we have had so much rain that the plants were looking really good. It would have been perfect if there had been a bit more sunshine as well but them’s the breaks! I had already dug up a few bulbs earlier to use in my pickled gherkins and they were juicy and flavoursome. So, after digging all the bulbs up I decided to dry them under cover ie. in the carport as it was raining every day at this stage. It’s really important to keep your garlic dry otherwise it will very quickly rot, and all your good work will be for nothing. Damp garlic is foul! In mediterranean climes the garlic dries on the ground like the picture below and in past years that is what I have done. Not so this year.
.
I Then transfered the garlic plants onto a tarp in the carport in a single layer to dry out a bit until I had time to trim and braid them before hanging indoors
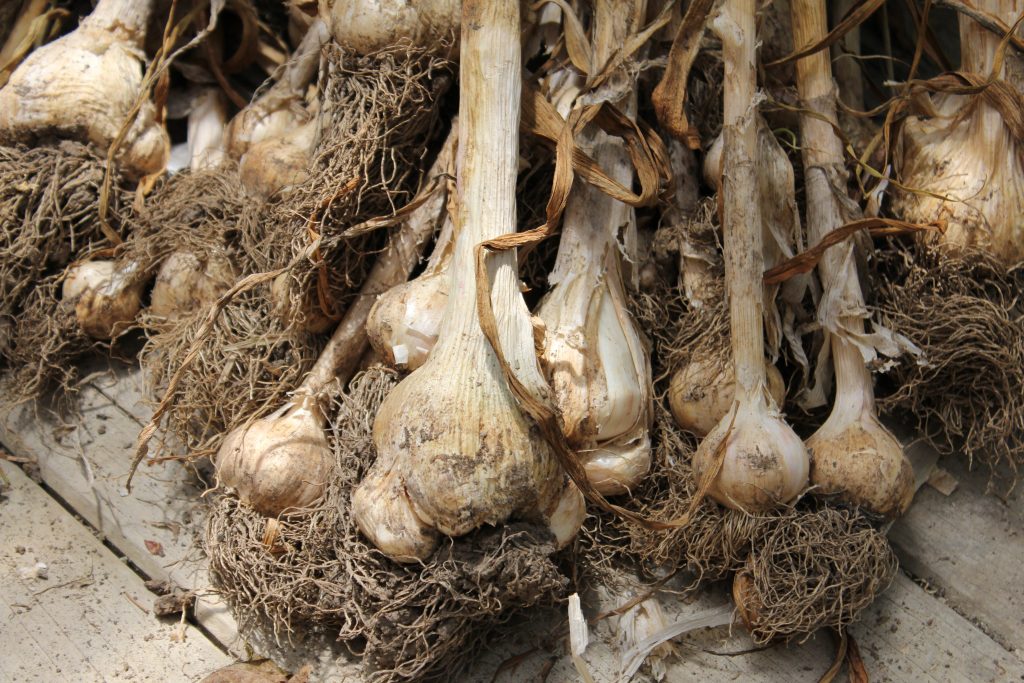
After a few weeks the garlic is dry. The outer layers of skin have become dry and papery. It’s vital that you keep the garlic dry after harvesting. It can become mouldy very quickly and is inedible. Gently remove the loose skins.
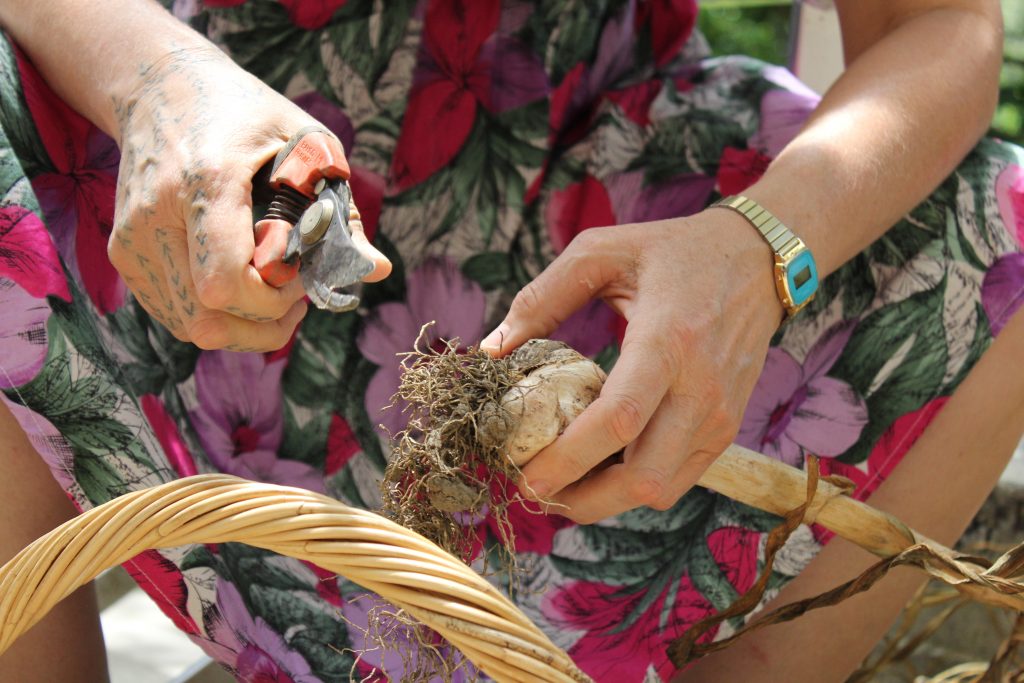
Now with your secateurs carefully trim the roots. Some people use an old toothbrush to clean the skin of residual dirt. Cut the stems to about 6 inches or so long. This is a very messy job so do it where you can easily clean the dust/dirt and loose skins up when you have finished.
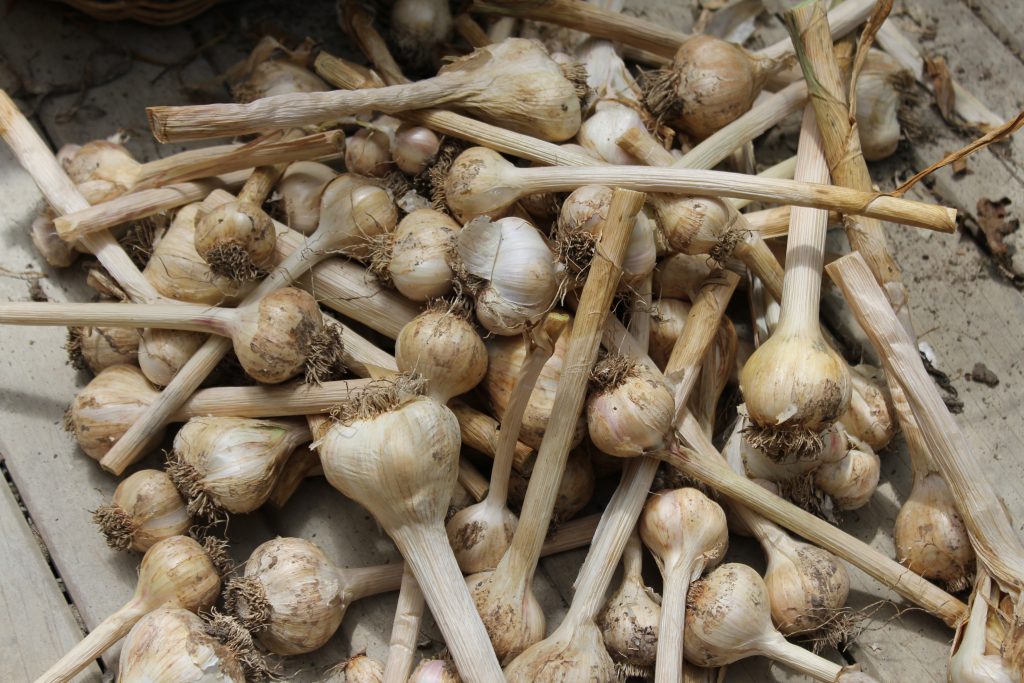
The garlic tidied and trimmed and ready for braiding.
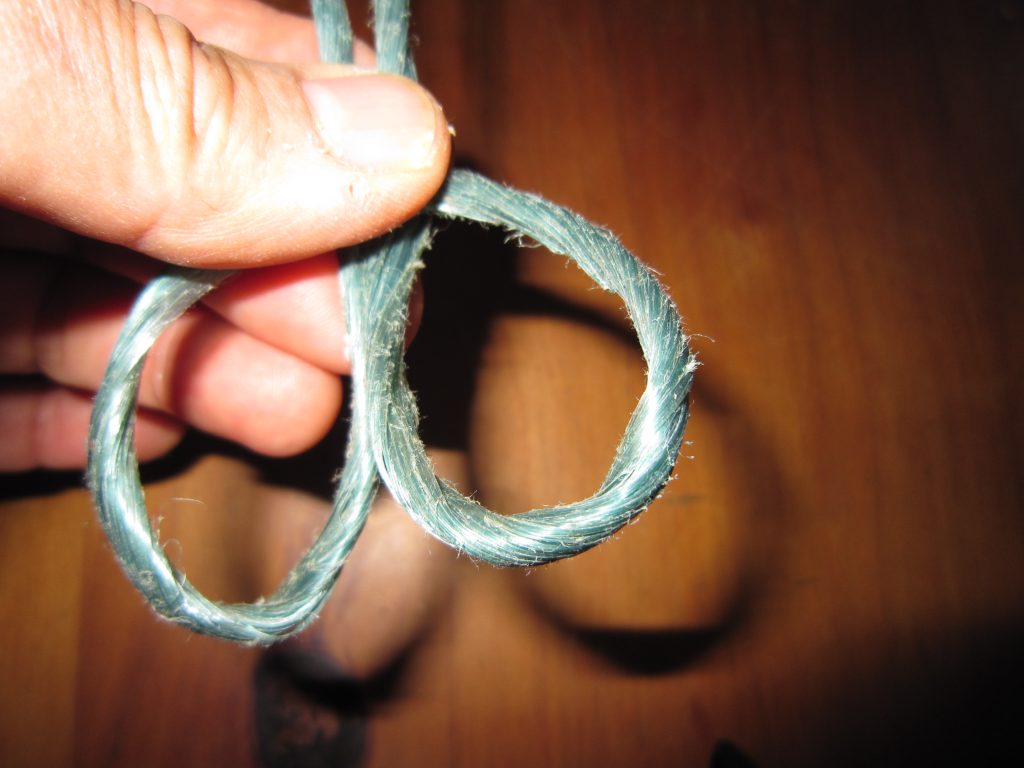
Cut a length of strong string ( I use straw bale twine ) roughly 2 metres long and tie the loose ends together. At the unknotted end of the string fold the string over itself.
Now thread a good sized garlic bulb through the openings.
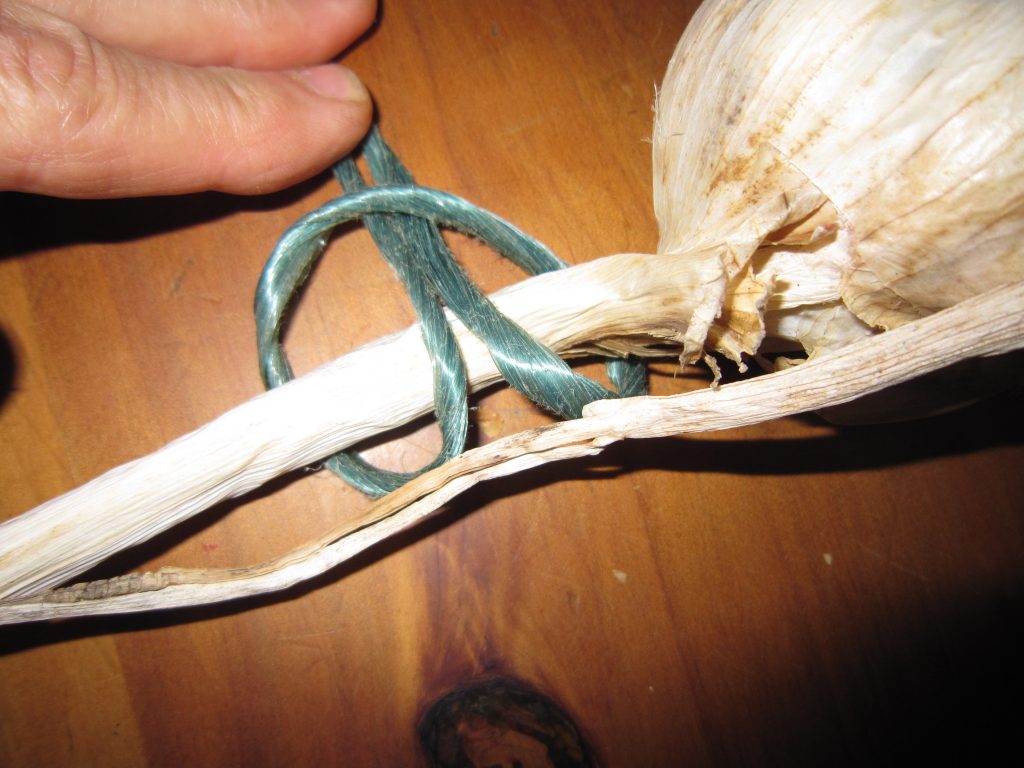
Hook the tied end of the string to a nail or something that the string can hang down from and where you can easily manage to reach comfortably at around chest height to the bottom of the string where the first garlic clove is.
I find that when stringing garlic it’s better to have similar sized bulbs or at least start with the biggest one and use the smaller ones as you work your way up. I couldn’t capture the next step with the camera but it’s simply holding the string as above and placing the stem horizontally behind the string with the bulb hard up against the string. Then bring the stem around to the front and thread it through the gap between the two strings.
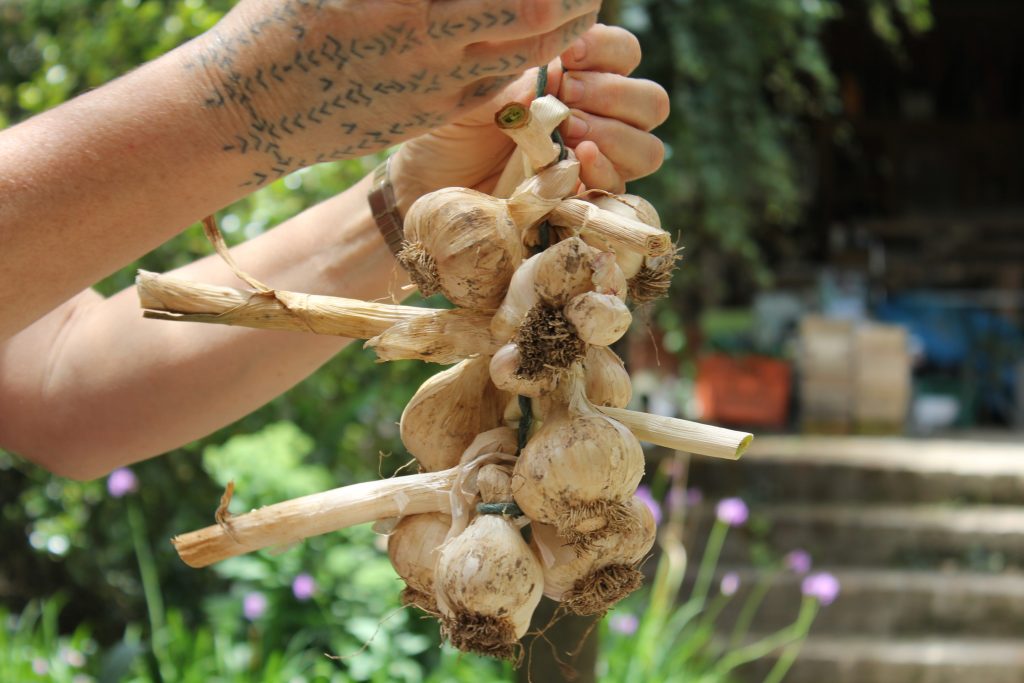
It’s not rocket science and you may find your own way to do it. Just ease each plaited garlic down to sit as close above the previous one as possible and work from both sides filling up the gaps. I saw someone french plaiting her garlic recently and that’s nice too. When you have finished stringing them all up trim the long stems and hang your braid somewhere dry and out of direct sun. I plan to use a lot of this years crop for the coming season’s planting. I’m building up a strong climatized stock that will hopefully produce well every year on this land. I’ve already sown lupins into this coming years garlic bed and will soon be digging them in. I’ll be adding lime then too, wait for a bit then lightly dig in more chook poo and compost. And so the cycle repeats.